Synchronization manual
Previous requirements
- Have a Nextcloud account and another Google account.
- Have the Onecalendar application installed on your device.
Steps to synchronize calendars
1. Open the Onecalendar app:
- Find and open the Onecalendar app on your device
2. Add accounts:
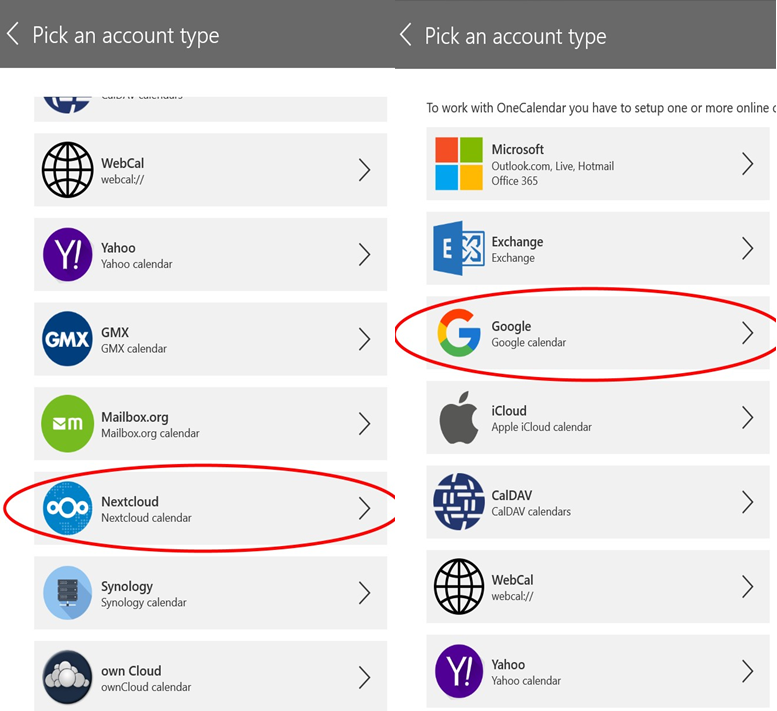
- Select “Accounts” from the menu
- Tap the “Add Account” button"
- Select the "Nextcloud" option and then "Google".
- Enter your login credentials for each account(username and password).
3. For the Server: Determine CalDAV URL:
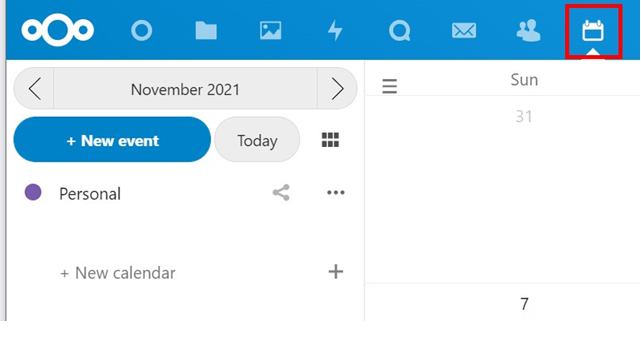
- Log in to Nextcloud and navigate to the calendar
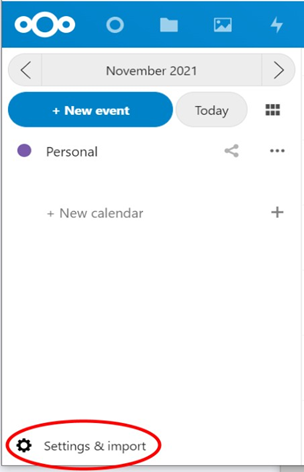
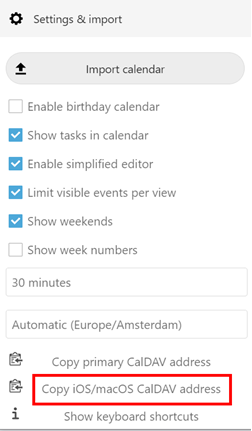
- Select 'Settings and import' at the bottom left
- Copy the iOS CalDAV address and use it for the server name in OneCalendar
4. Select calendars to sync::
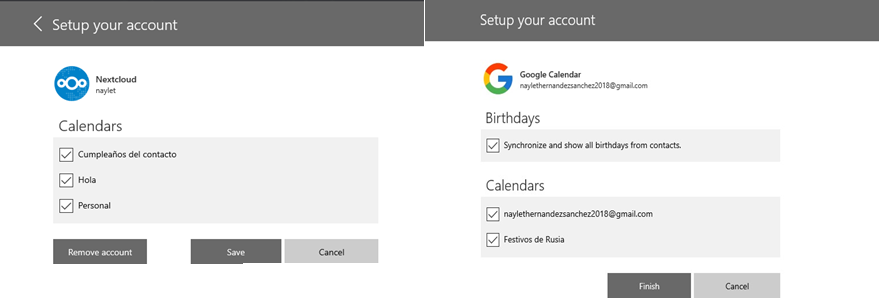
- In the "Accounts" section, you will see the accounts you have added.
- Tap the Nextcloud account and select the calendars you want to sync.
- Repeat the process for the Google account.
5. Set sync preferences:
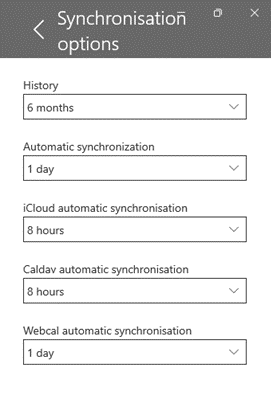
- In the “Settings” section, find the “Synchronization” option".
- Here you can configure the sync frequency, sync direction (Nextcloud to Google, Google to Nextcloud, or two-way), and other advanced options.
6. Start sync:
- Once you have everything set up, you can start syncing manually by pressing the “Sync Now” button".
- By default, the app will sync your calendars automatically based on the frequency you've set.
