Blue Mail Setup Guide for Mobile Email Configuration
Blue Mail Setup
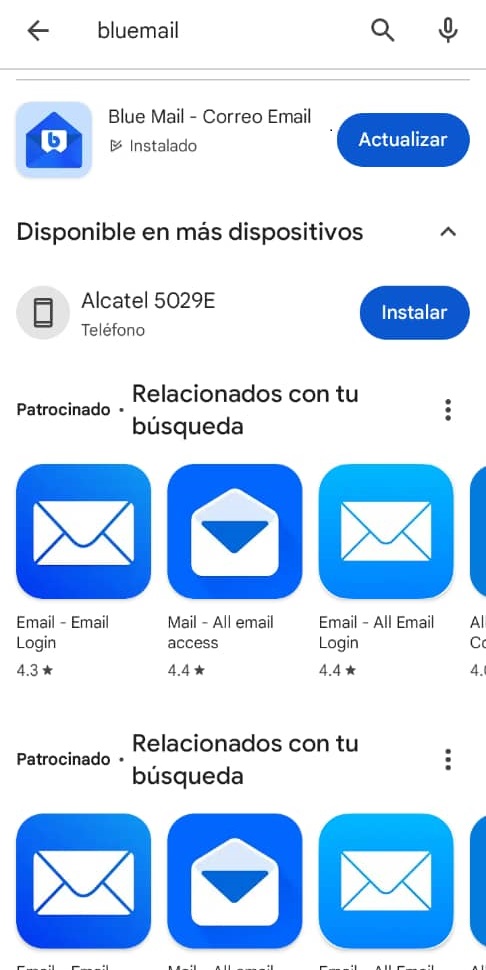
1) Install the Blue Mail app on your mobile device, which you can find in the Play Store.
 |
|---|
| Figure 1 Downloading the Application. |
2) Open the app.
 |
|---|
| Figure 2 Application. |
3) Select the "Add Account" button.
 |
|---|
| Figur3 3 Adding an Account. |
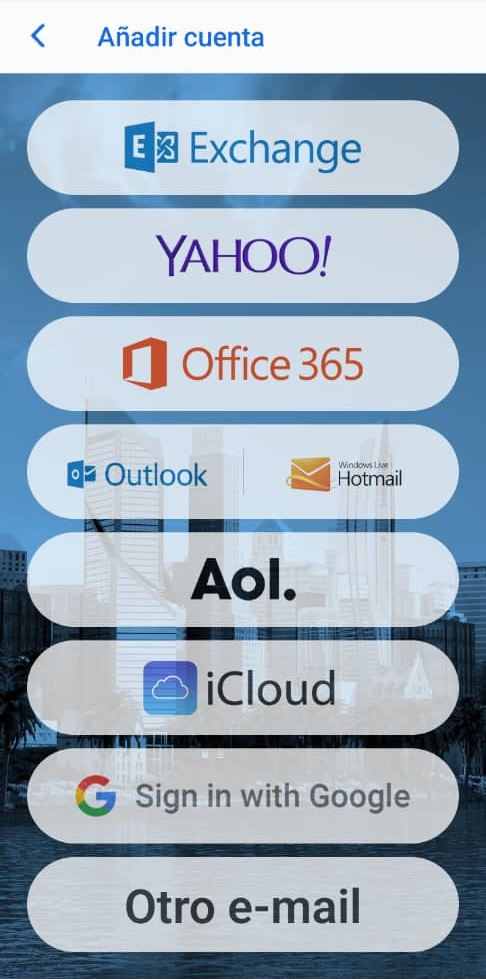
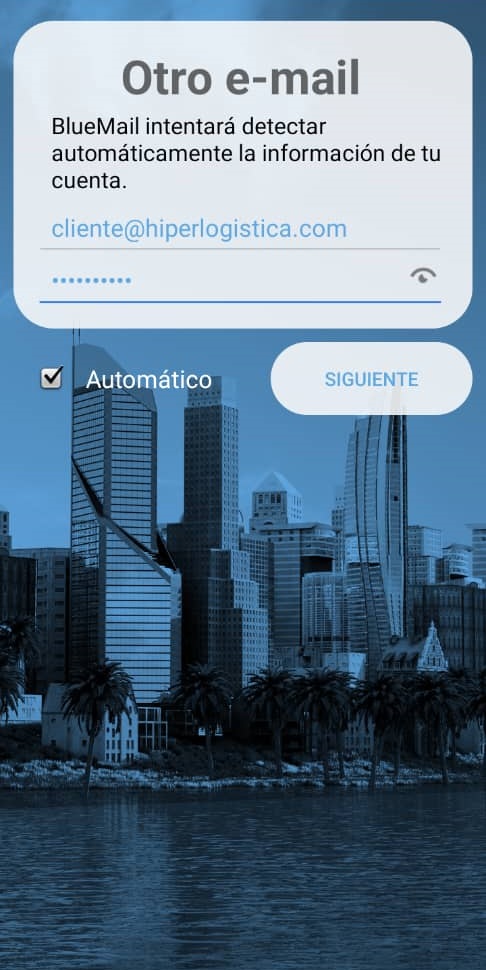
4) Select the "Other email" option.
5) Enter the correct email and password.
6) Select the "Next" option.
 |
|---|
| Figure 4 Account Details. |
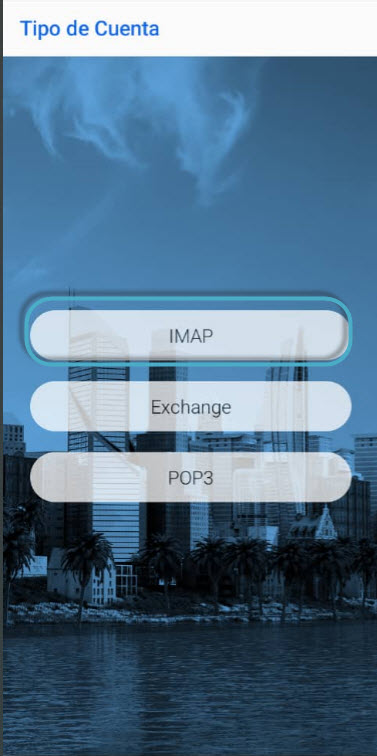
7) Select Account Type: IMAP
 |
|---|
| Figure 5 Account Type. |
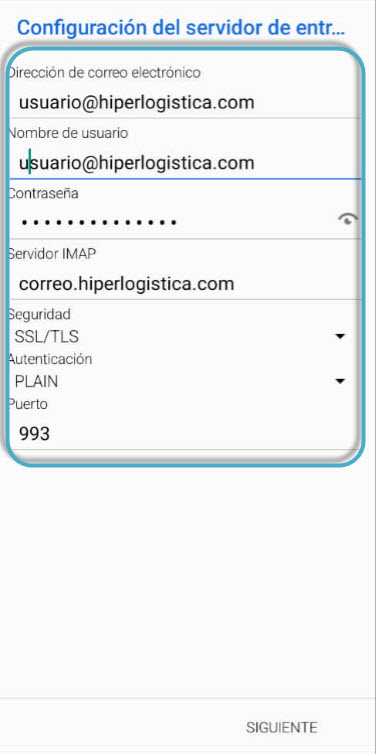
8) Configure the incoming server as follows:
 |
|---|
| Figure 6 Incoming Server Configuration. |
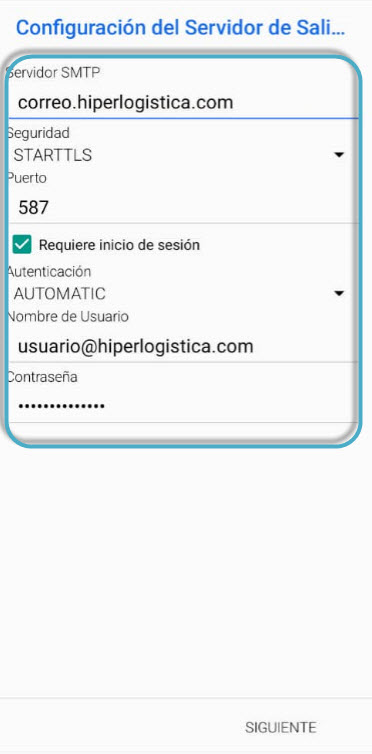
9) Configure the outgoing server as follows:
 |
|---|
| Figure 7 Outgoing Server Configuration. |
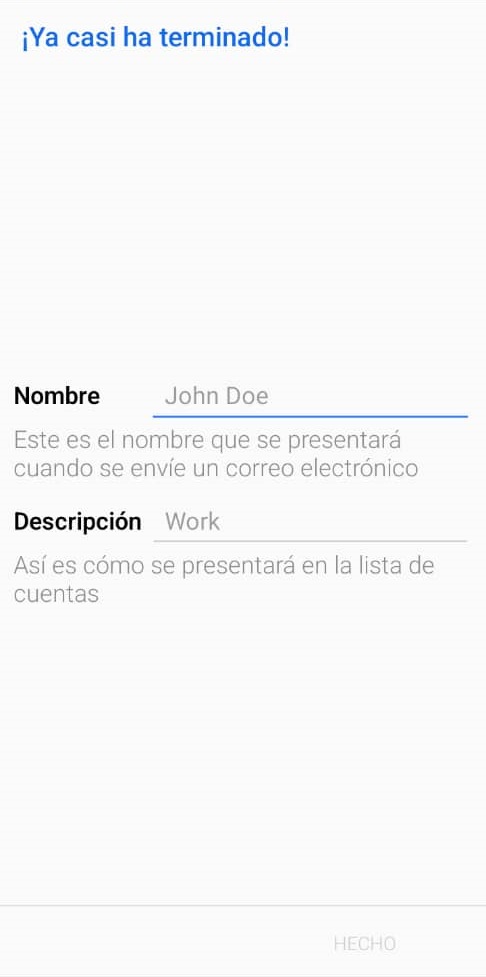
10) Complete the required information and select the "Next" option.
 |
|---|
| Figure 8 Display Settings. |
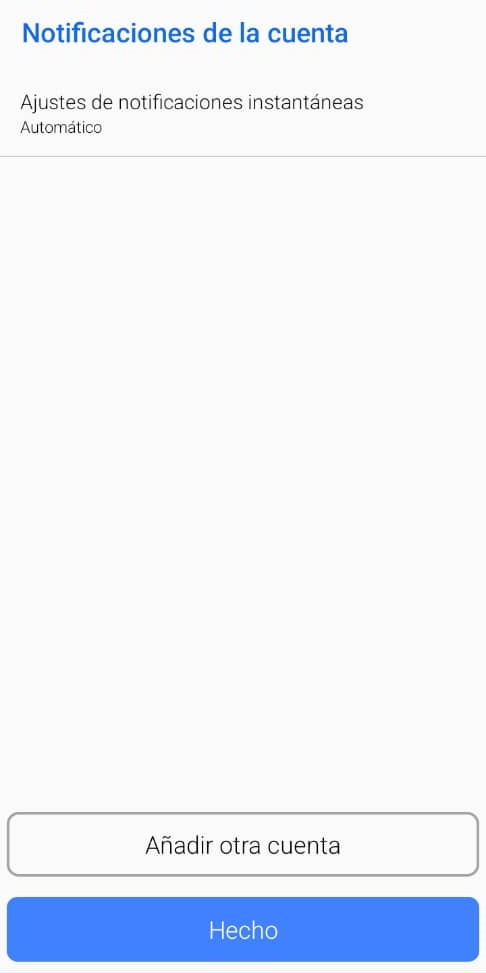
11) Complete the required data and select the "Done" option.
 |
|---|
| Figure 9 Notification Settings. |
12) Select the "Done" option.
 |
|---|
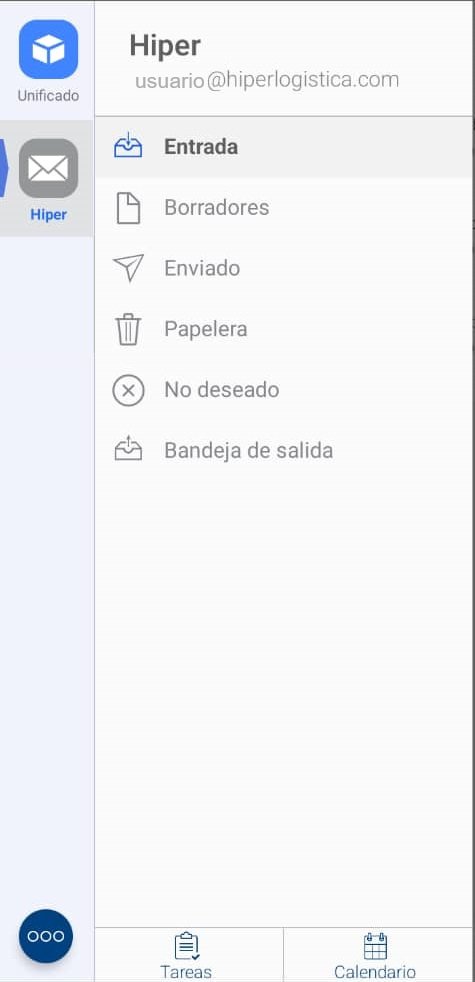
| Figure 10 Active Mail. |
Email Alias Configuration
1) Expand the Blue Mail options.
|
|---|
| Figure 11 Active Mail. |
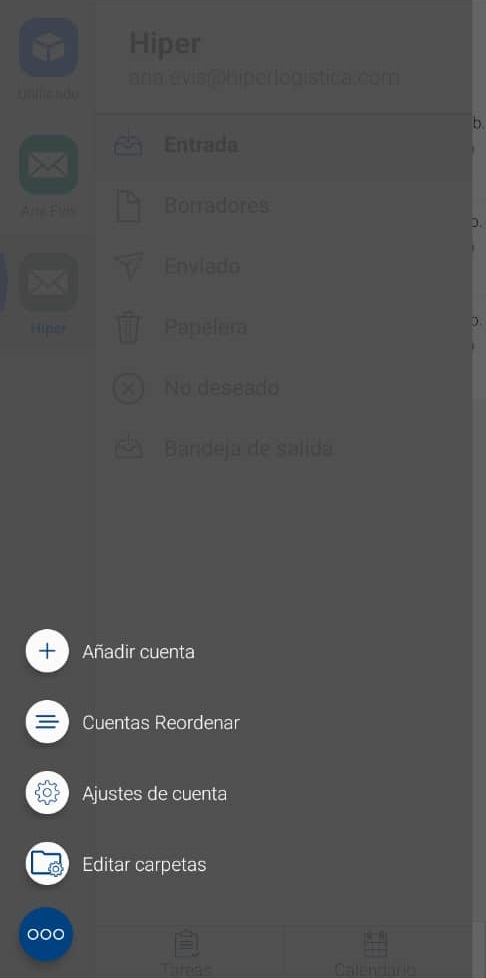
2) Select the "Account Settings" option under "More options".
 |
|---|
| Figure 12 Settings Options. |
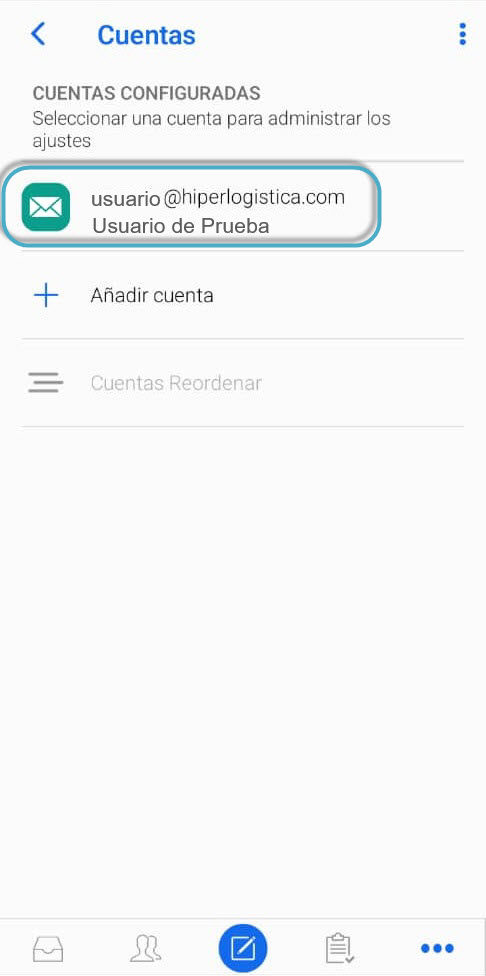
3) Select the email account.
 |
|---|
| Figure 13 Account List. |
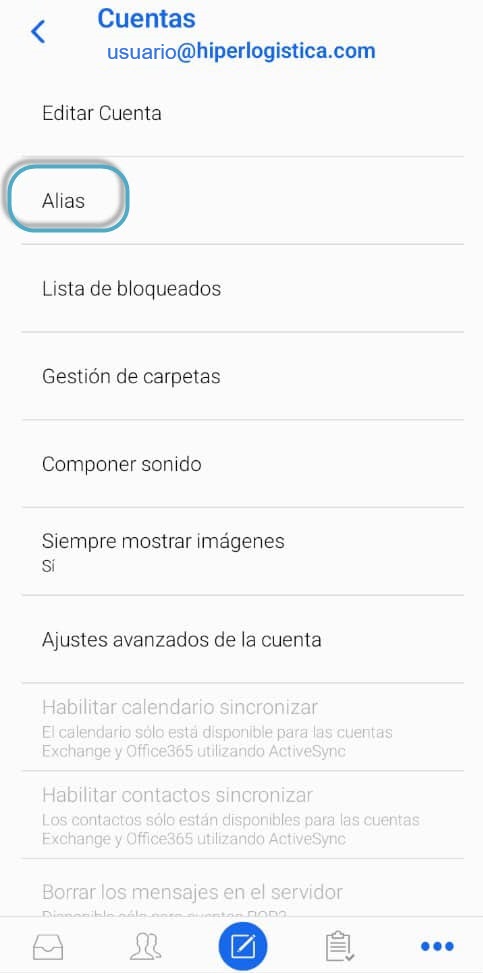
4) Select the "Alias" option.
 |
|---|
| Figure 14 Edit Account. |
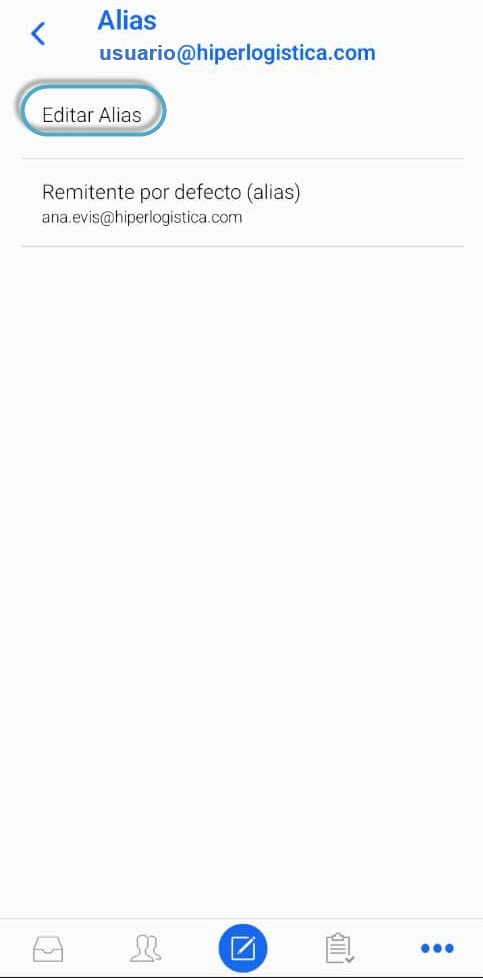
5) Select the "Edit Alias" option
 |
|---|
| Figure 15 Edit Alias. |
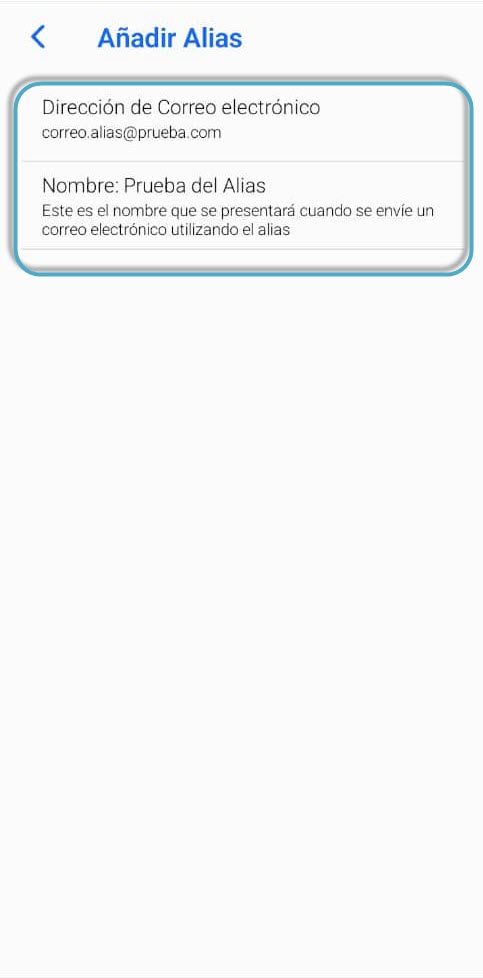
6) Enter the corresponding alias information.
 |
|---|
| Figure 16 Add Alias. |
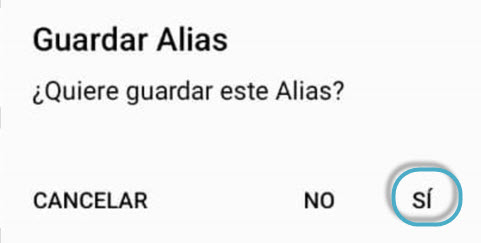
7) Return to the previous view and accept the new alias by selecting "Yes" from the displayed window.
 |
|---|
| Figure 17 Save. |