Setup manual for Nextcloud Desktop Client on MacOS
Install Nextcloud
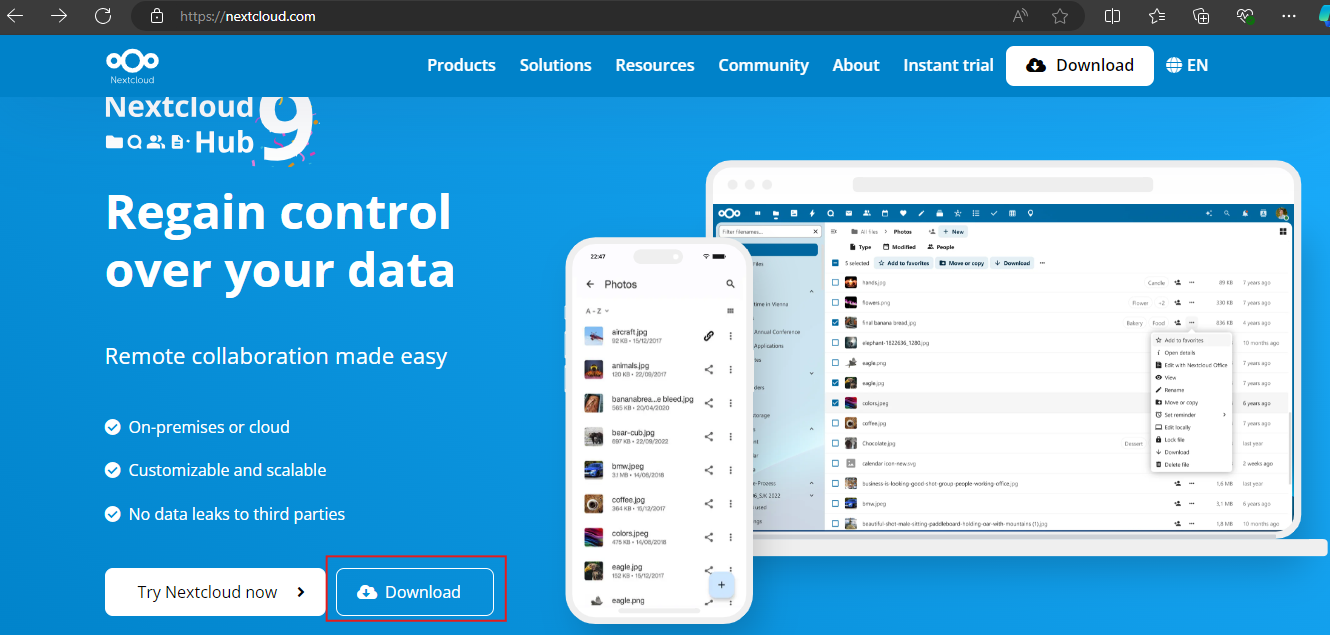
1- Go to the official Nextcloud website (https://nextcloud.com)
2- Go to the Download button
 |
|---|
| Figure 1. Offcial web site |
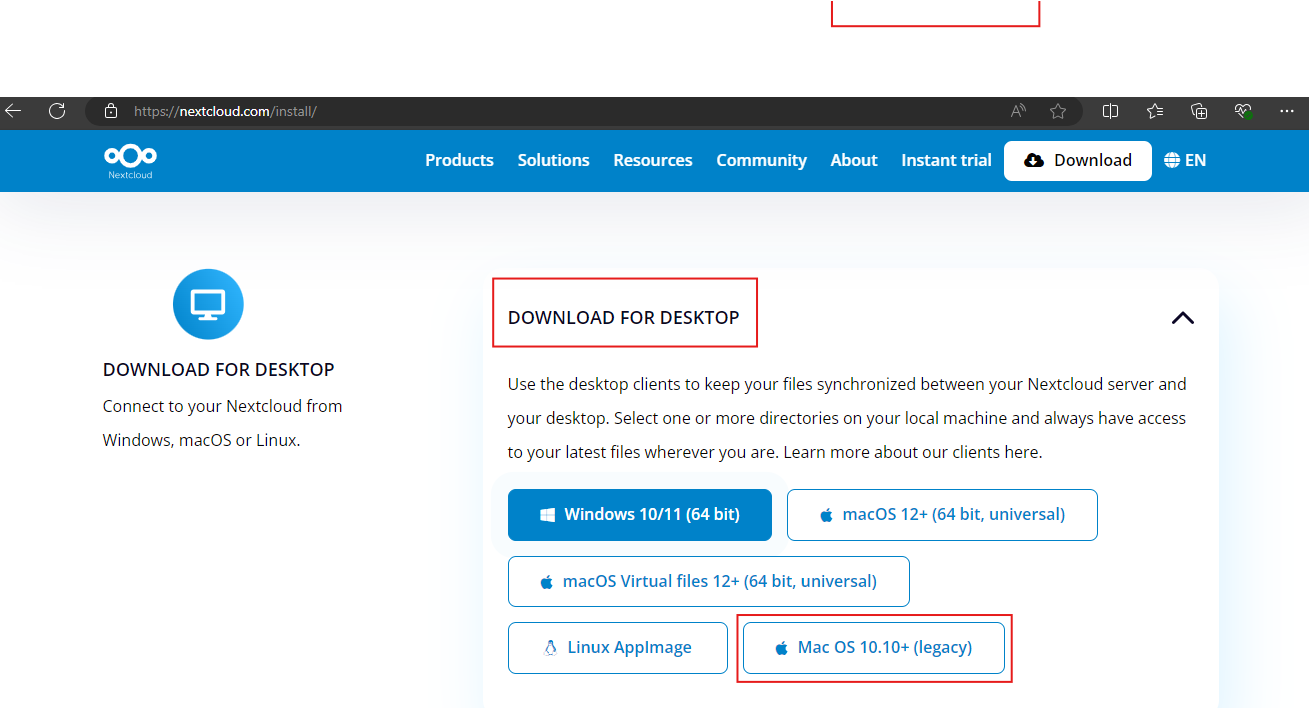
3- Select DOWNLOAD FOR DESKTOP.
4- Select macOS 12+ (64 bits, universal).
 |
|---|
| Figure 2. Download the app for MAC |
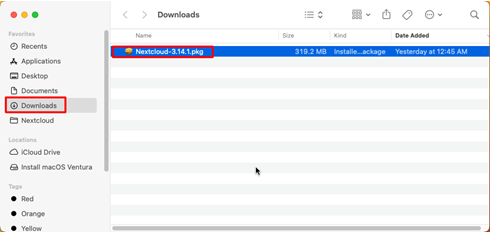
5- Go to the Downloads folder in your macbook and open the downloaded Nextcloud.pkg file.
 |
|---|
| Figure 3. Open the downloaded file |
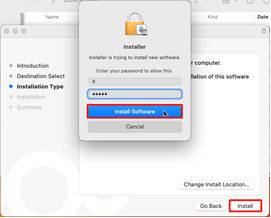
6- Install the app. You will be asked for a password to install.
 |
|---|
| Figure 4. Install the app |
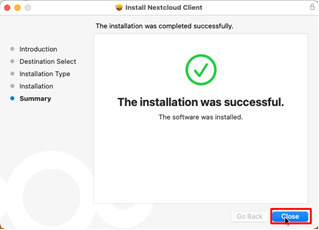
7- Once finished, click on Close.
 |
|---|
| Figure 5. Close the setup window |
8- Once installed, run Nextcloud.
 |
|---|
| Figure 6. Run Nextcloud |
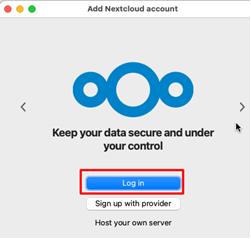
9- A setup Nextcloud window will display, click on Log in
 |
|---|
| Figure 7. Log in |
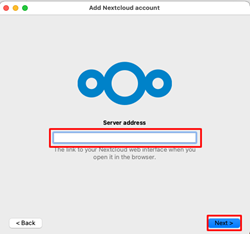
10- Enter the URL of your Nextcloud server and click on Next.
 |
|---|
| Figure 8. Setup the app |
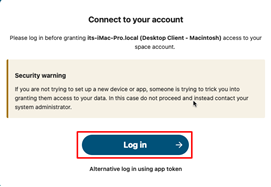
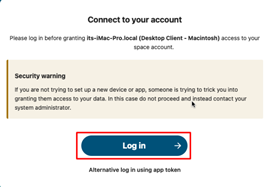
11- A security notice will appear, click on Login again.
 |
|---|
| Figure 9. Log in |
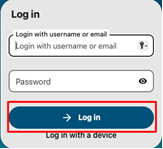
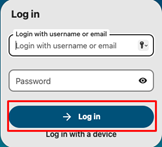
12- Enter your username and password to log in to your workspace.
 |
|---|
| Figure 10. Log in to your workspace |
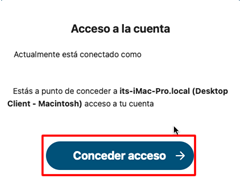
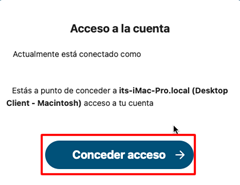
13- Click on Grant access.
 |
|---|
| Figure 11. Grant access |
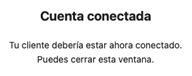
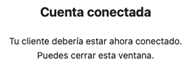
14- A message will appear indicating that the application has been connected to your account.
 |
|---|
| Figure 12. Account connected |
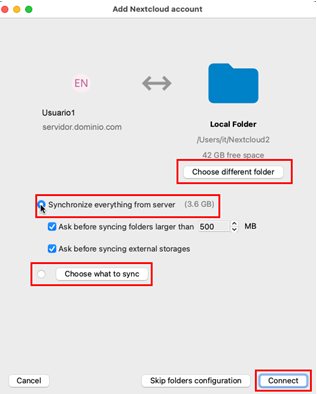
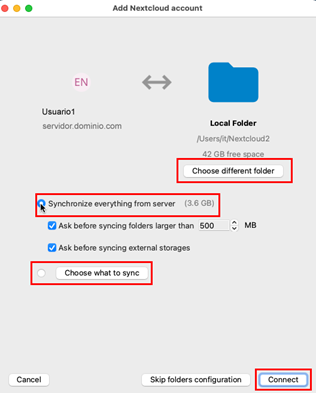
15- Select how to sync your data:
• Synchronize everything from server
• Choose what to sync
16- Select the folder for store the synced files. You can choose the default folder to sync your data, or you can choose a different folder.
 |
|---|
| Figure 13. Choose how to sync your data |
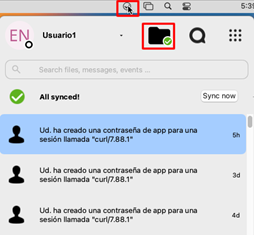
17- Go to the top right corner of your Mac and select the small icon shown in the image below.
 |
|---|
| Figure 14. Open the Nextcloud environment |
18- The application panel will open. After that, select the folder icon.
19- You can check that your documents have been synced.
 |
|---|
| Figure 15. Open the Nextcloud environment |
Adding a Second Account to Switch Between Both
1- Go to the top right corner of your Mac and select the small icon shown in the image below.
 |
|---|
| Figure 16. Open the Nextcloud environment |
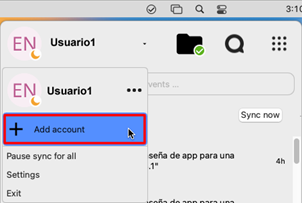
2- You will see the current active user . Select the Add account option.
 |
|---|
| Figure 17. Add another account |
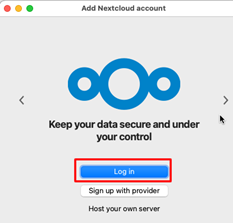
3- A setup window Will display, select Login.
 |
|---|
| Figure 18. Log in |
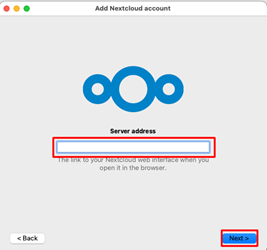
4- Enter the URL of your Nextcloud server and click on Next.
 |
|---|
| Figure 19. Enter the URL of your Nextcloud server |
5- A security notice will appear, click on Login again.
 |
|---|
| Figure 20. Log in |
6- Enter the username and password to log in in your workspace.
 |
|---|
| Figure 21. Enter the username and password |
7- Click on Grant access.
 |
|---|
| Figure 22. Grant access |
8- A message will notice that your account is connected
 |
|---|
| Figure 23. Account connected |
9- Choose whether to use the default folder to sync your data. Make sure not to use the same folder as user 1.
10- Select the folder for store the synced files. You can choose the default folder to sync your data, or you can choose a different folder.
 |
|---|
| Figure 24. Choose how to sync your data |
11- Go to the top right corner of your Mac and select the small icon shown in the image below.
 |
|---|
| Figure 25. Open Nextcloud |
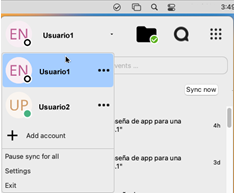
12- You can check that both users are now shown and switch between them as needed.
 |
|---|
| Figure 26. Both accounts are synced |
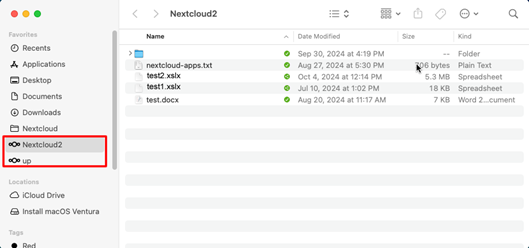
13- To quickly access each user's folders, use Finder. These will be shown on the left side of Finder.
 |
|---|
| Figure 27. Manage both accounts |