Setup Manual for OneCalendar on PC
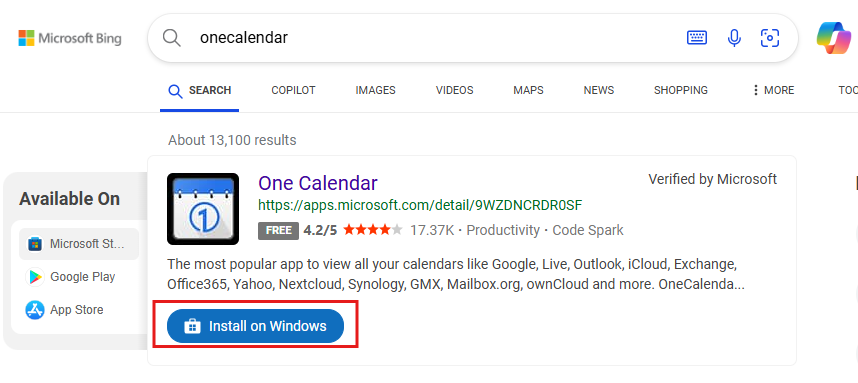
1) Open the browser and type OneCalendar.
2) Click on the option Install on Windows.
 |
|---|
| Figure 1. Install OneCalendar |
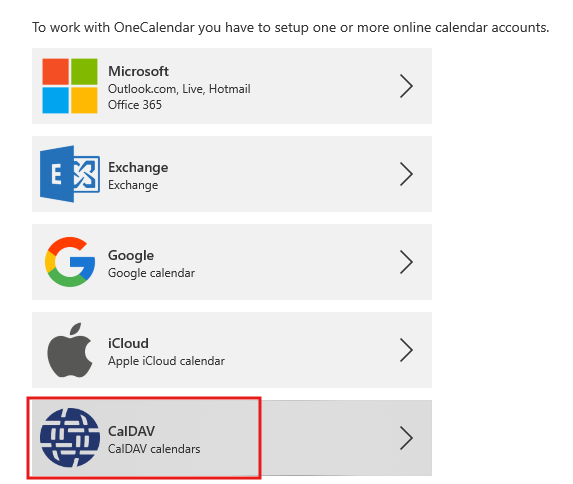
3) Once installed on the PC, open the OneCalendar app.
4) Select the CalDAV account type.
 |
|---|
| Figure 2. Select the CalDAV account type. |
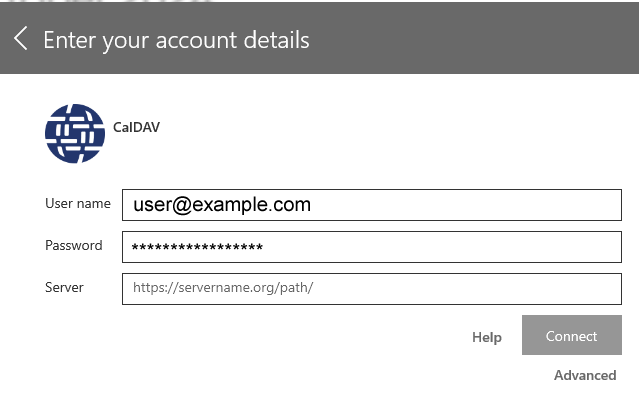
5) Enter your email username, email password, and the URL of your workspace.
 |
|---|
| Figure 3. Enter your account details. |
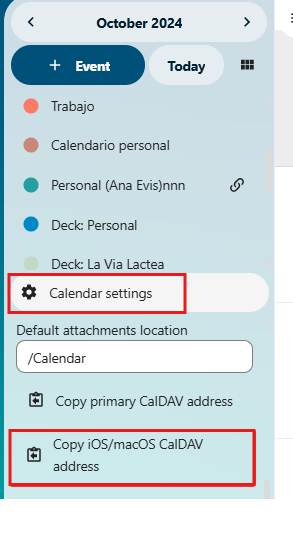
6) To obtain the URL of your workspace, follow these steps:
o Go to the calendar of your workspace.
o Go to Calendar Settings.
o Click on the option Copy the CalDAV iOS/macOS address.
o The address will be copied to the clipboard. Paste it in the Server field of the previous image.
 |
|---|
| Figure 4. Obtain the workspace url. |
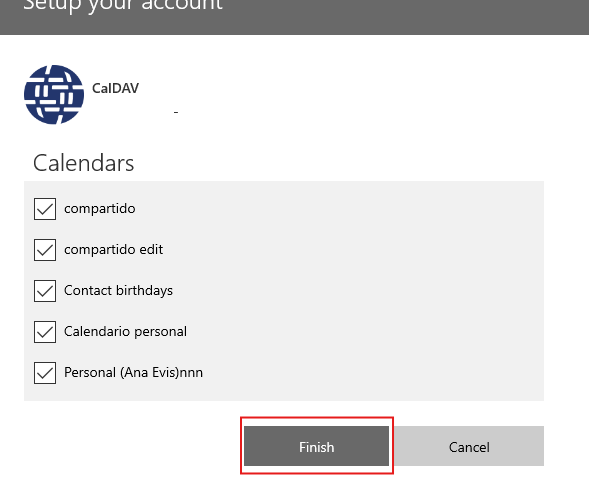
7) Select which calendars you want to sync.
 |
|---|
| Figure 5. Sync calendars. |
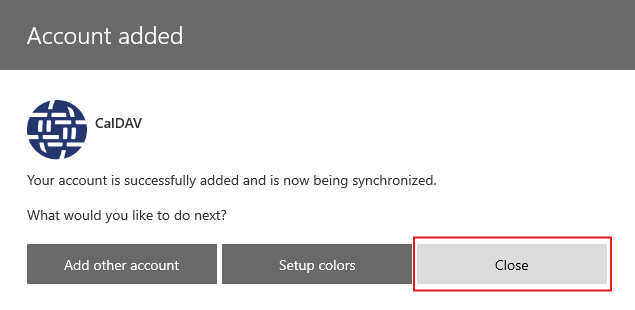
8) Finish and close the configuration.
 |
|---|
| Figure 6. Finish the configuration. |
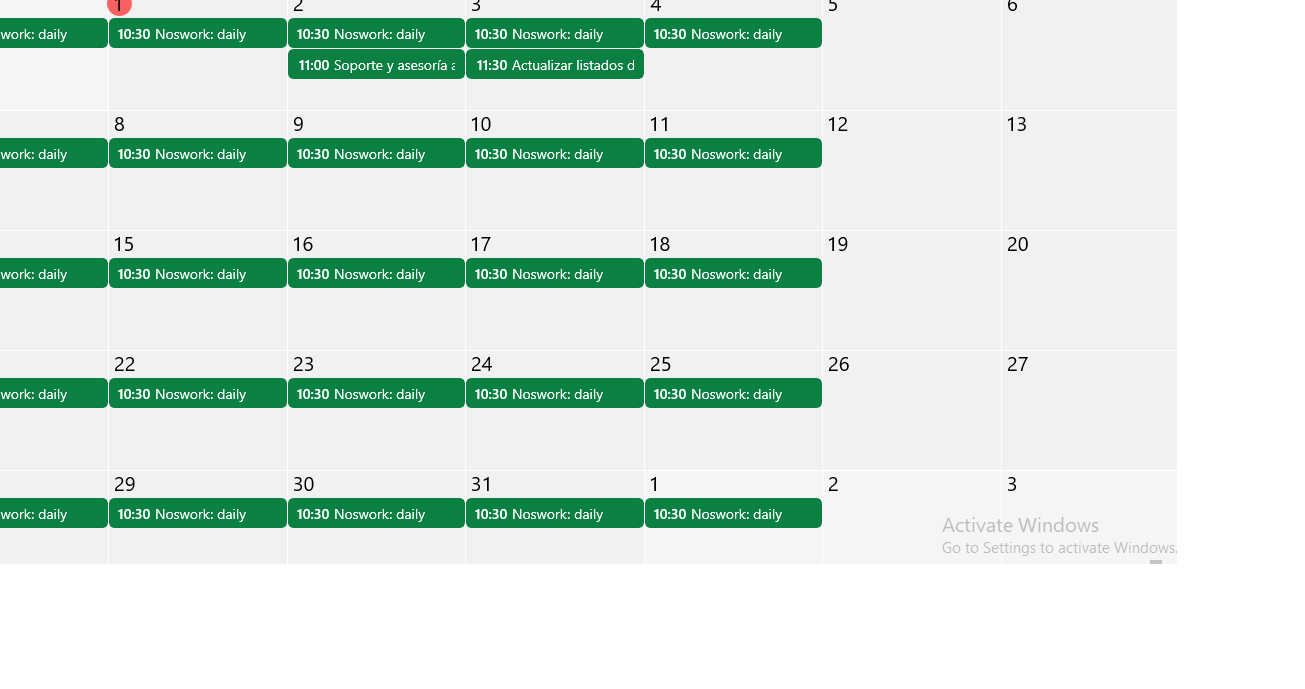
9) The OneCalendar environment will display.
 |
|---|
| Figure 7. The OneCalendar environment. |