NextCloud Setup Manual for PC
Installation and Configuration of NextCloud
About NextCloud
Nextcloud allows you to store and share files online, as well as synchronize them with your internet-connected devices. This way, you can upload files to your Nextcloud server and access them from any device connected to the Internet. The files are automatically synchronized across all your devices. To synchronize information between NextCloud and our computer, we need to create a local folder on the PC where the information is stored and later synchronized.
To ensure successful synchronization of our files, the following recommendations should be considered:
• Use short names for files.
• Never use a period (.) to name a file.
• Use a simple folder structure, avoiding nested folders (folders within folders).
• Avoid storing executable files, installers, or drivers.
• Avoid files with extensions .git, .htaccess, .tmp, .temp, or desktop.ini.
• If you delete a file or folder stored in the local NextCloud folder or in the cloud, when synchronization between the cloud and the device starts, the file or folder will be deleted from both environments.
1) On a secure partition of the PC (e.g., the D drive), create a folder for synchronizing and storing files between the PC and the cloud. We will call it “NextCloud Folder”.
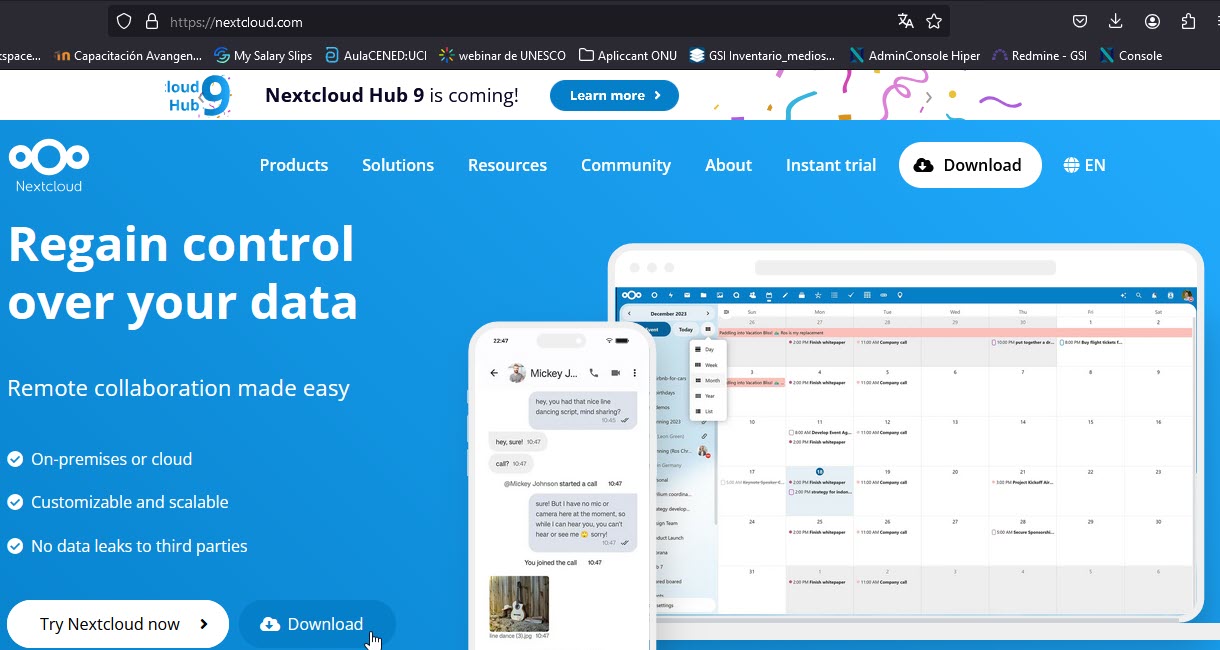
2) Open your browser and go to the official NextCloud website: https://nextcloud.com.
If a cookie usage notice appears, click on "Accept all cookies".
 |
|---|
| Figure 1. Go to the official NextCloud website. |
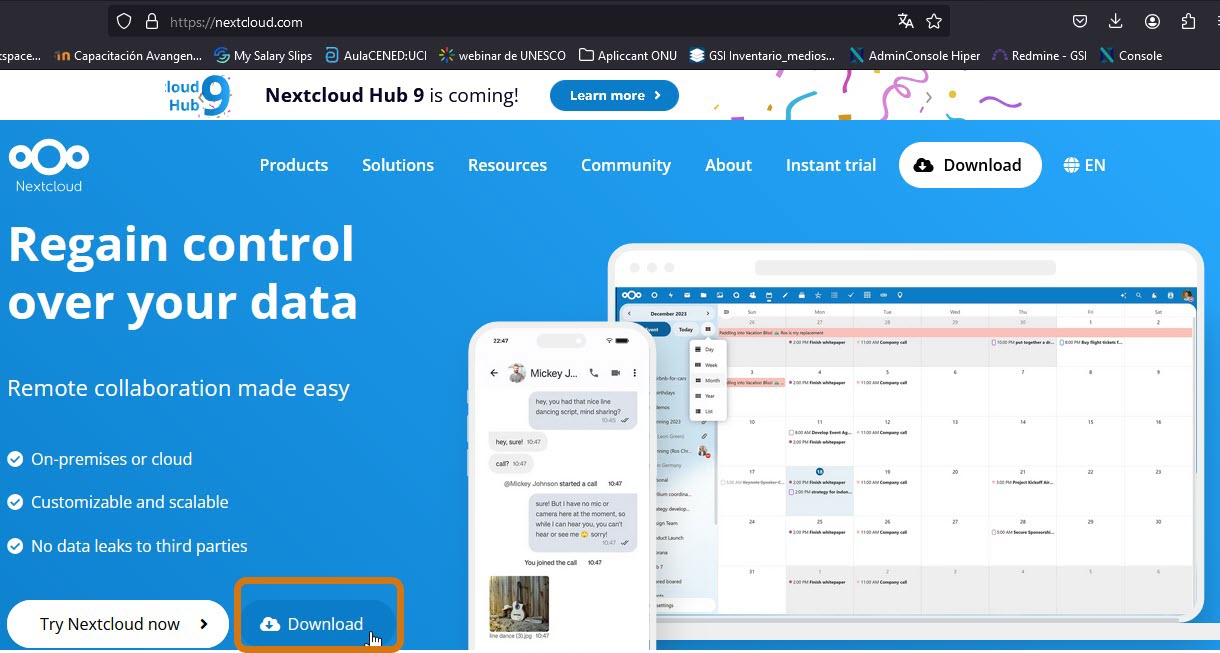
3) Click on the Download button.
 |
|---|
| Figure 2. Download NextCloud. |
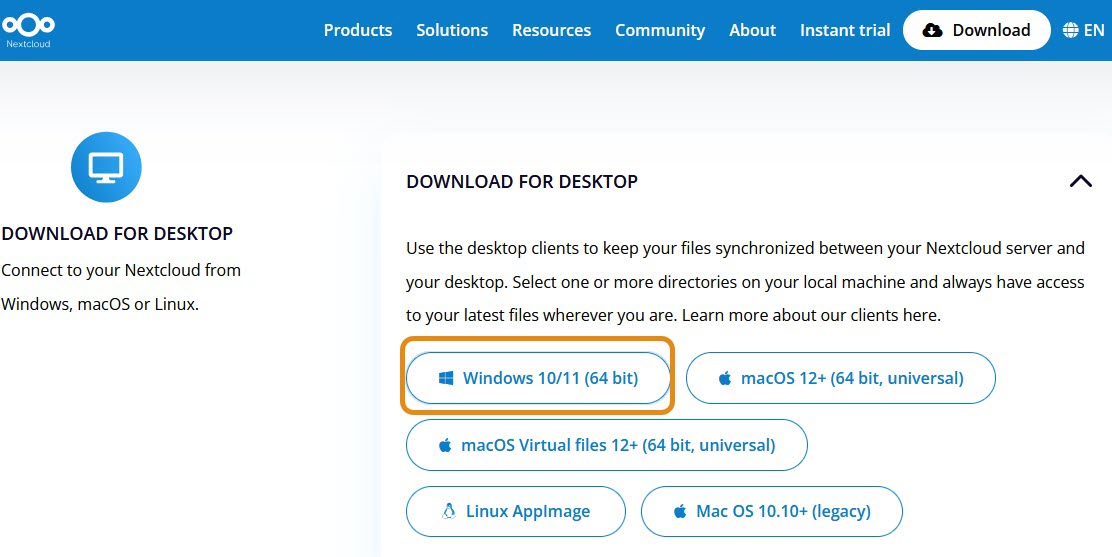
4) Click on Download for desktop and select the version compatible with your computer’s operating system (in this case, we select the Windows version).
 |
|---|
| Figure 3. Download for Desktop. |
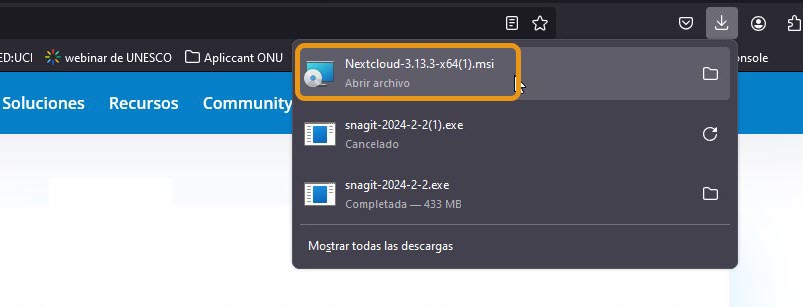
5) In the browser’s Downloads section, click on the NextCloud file (version 3.13.3).
 |
|---|
| Figure 4. Open the dowloaded file. |
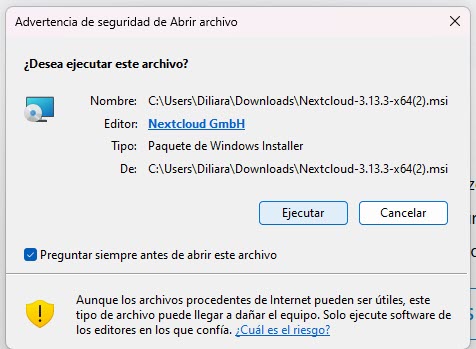
6) 6. A box will display; click on Execute.
 |
|---|
| Figure 5. Execute. |
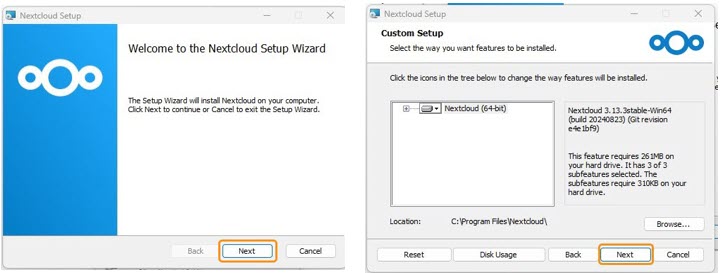
7) In the following dialog boxes, click on Next.
 |
|---|
| Figure 6. Click on Next. |
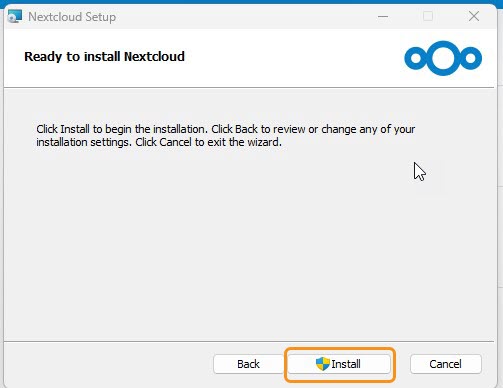
8) Click on Install.
 |
|---|
| Figure 7. Click on Install. |
9) When asked “Do you want to allow this app to make changes to your device?”, click on Yes.
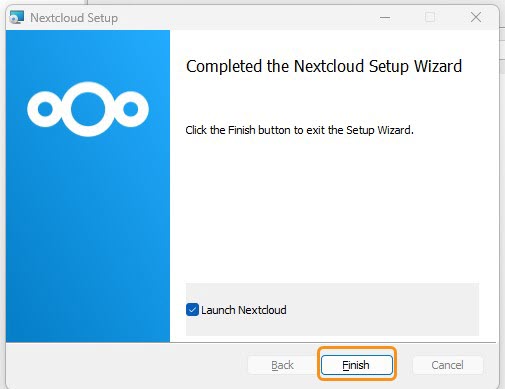
10) Click on Finish.
 |
|---|
| Figure 8. Click on Finish. |
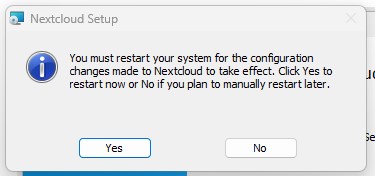
11) A prompt will suggest restarting the PC. Click on Yes to restart now, or Noif you prefer to restart later.
 |
|---|
| Figure 9. Restart the PC. |
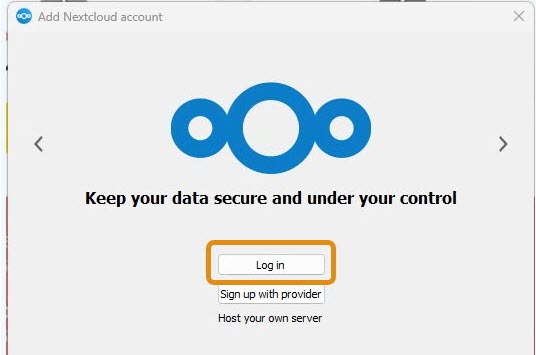
12) A NextCloud setup window will appear. Click on Log in to start the configuration.
 |
|---|
| Figure 10. Log in. |
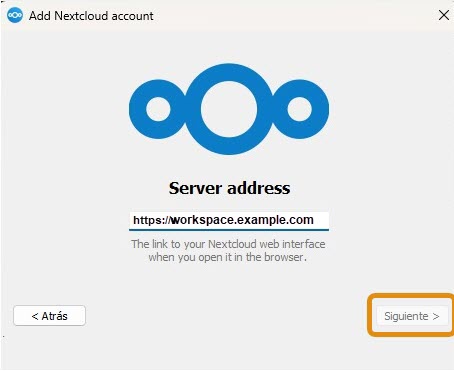
13) Enter the URL of the workspace to be synchronized.
14) Click on Next.
 |
|---|
| Figure 11. Configure the url. |
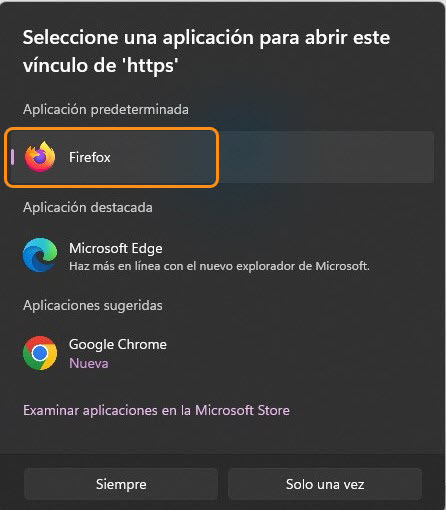
15) A box will appear to select your preferred browser.
 |
|---|
| Figure 12. Select your preferred browser. |
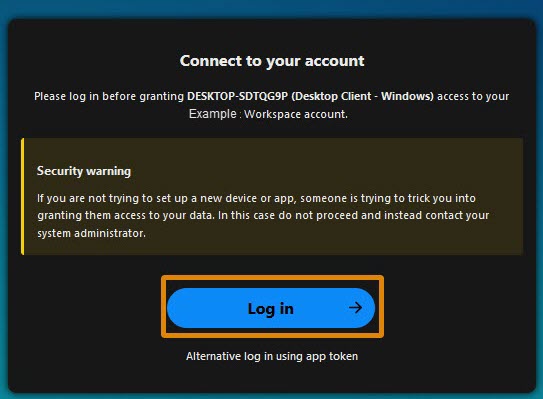
16) A dialog box will announce the connection to your NextCloud account. Click on Log in.
 |
|---|
| Figure 13. Log in. |
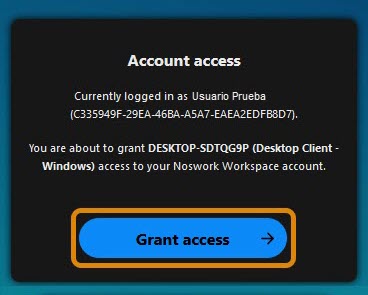
17) Click on Grant access.
 |
|---|
| Figure 14. Grant access. |
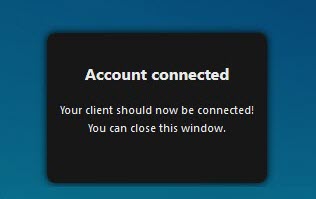
A message will appear announcing that the account is connected.
 |
|---|
| Figure 15. Account connected. |
18) After connecting the account, click on the NextCloud icon in the PC’s status bar to access it.
 |
|---|
| Figure 16. Open the NextCloud app |
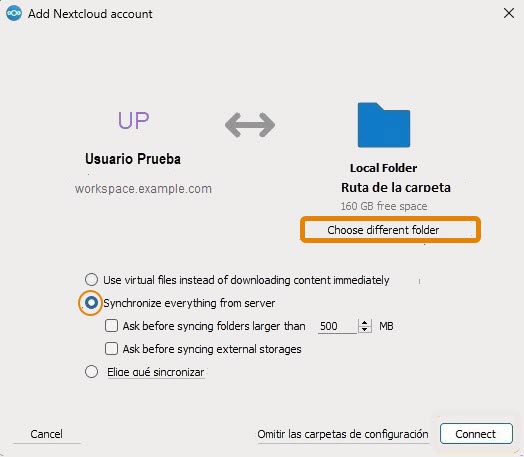
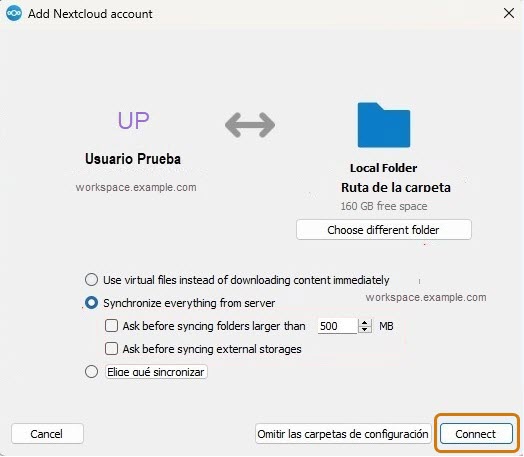
19) A window will display to configure the connection between accounts. Follow these instructions:
• Choose the option “Synchronize everything from server”.
• Uncheck the options:
Ask before syncing folders larger than
Ask before syncing external storages
20) Click on Choose a different folder and select the folder created in step 1.
 |
|---|
| Figure 17. Configuring connection |
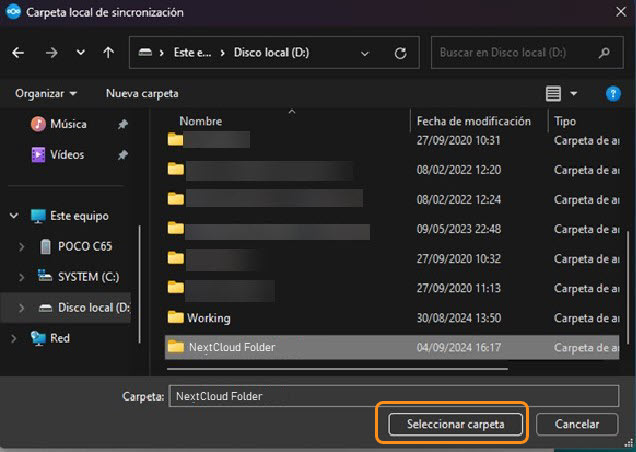
21) Locate the folder for synchronization and storage of files created in step 1.
22) Click on Select folder.
 |
|---|
| Figure 18. Select folder |
23) After configuring the connection, click on Connect.
 |
|---|
| Figure 19. Connect |
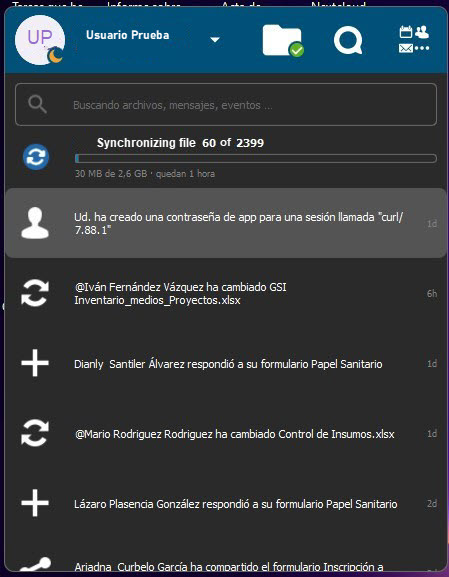
24) A dialog box will show the synchronization process between the folder on the hard drive and the NextCloud account.
 |
|---|
| Figure 20. Synchronizing files |
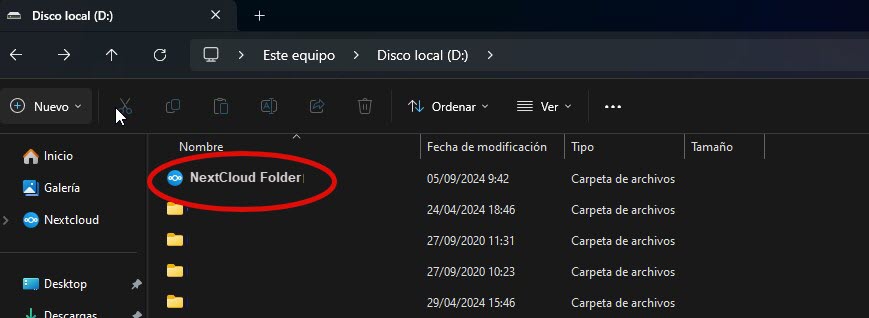
You will notice that the folder initially created for synchronization with your workspace now appears with the NextCloud icon.
 |
|---|
| Figure 21. NextCloud folder on your computer |